Taking better photos – A beginners guide to getting the most out of your camera: ISO
What is ISO? (and why is it important?)
A little bit of history
Back in the days before digital cameras, the actual rolls of film used in cameras were classified by their ‘speed’. A so called ‘fast’ rated film was better at capturing images in low light than a slower rated film.
With a camera you can of course also adjust aperture (ie f stop) and/or shutter speed to let in more light, but a fast film allows as much or more detail to be captured in an image at faster shutter speeds and smaller apertures.
With film cameras there is also an ISO setting on the camera and generally you would need to set this to match the ISO speed of the film you are using. You can create different effects with a film camera by not matching the ISO setting on the camera to the film, but the general rule is to have the two speeds match.
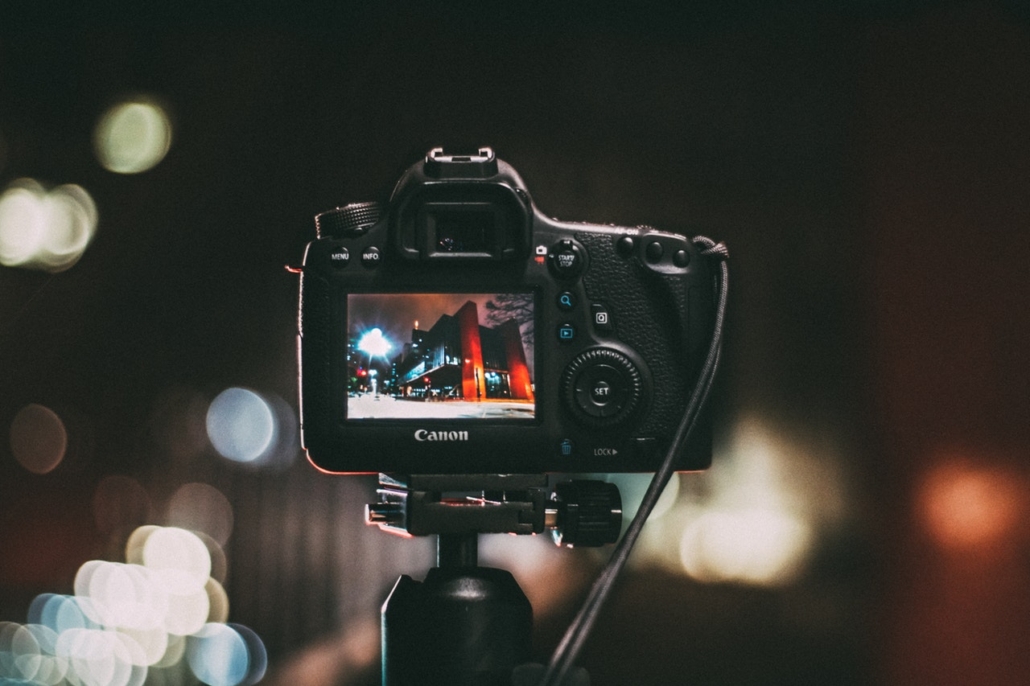
When digital cameras came along, rather than dispense with the term ‘ISO’ altogether, the ISO setting on a digital camera now adjusts the sensitivity of the light sensor in the camera to mimic the effect of different ISO speeds in film cameras. This allowed photographers familiar with film cameras to transition easily to digital cameras (we assume!).
What does ISO stand for?
ISO stands for International Organisation for Standardisation – the international body that originally set the ratings for film. Prior to this body harmonising these ratings around the world, each country often had its own film speed ratings – in Germany (and therefore Europe) these settings were DIN (the German equivalent of the ISO), in the US these settings were referred to as ASA (American Standards Association) and in Eastern Bloc countries (Eastern Europe and the USSR up until the 1980s) the system was called ‘GOST’.
In fact ISO is a combination of the DIN and ASA measuring systems, and uses an easy to understand logarithmic scale where a doubling of the ISO number represents a doubling of the sensitivity of the film.
How do you use ISO settings in practice?
 As a general rule, the lower the setting (or film speed if you’re using a film camera) the less sensitivity it is to light. So if you’re in a location where there is a lot of light (Sunny Day or the like), your ISO setting should be low (100-200 for example). ISO settings are generally in the 100 – 3200 range, so where there is very little light, a 3200 setting may be the best setting to choose.
The other variable is the sharpness of the photograph – the higher the ISO setting the more pixellated (or ‘noisier’) the image will become, which is why you should always use the lowest ISO setting you can.
The following is a general guide to ISO settings depending on light levels…
- ISO 3200 (or higher) – Use in very low light (photos will have most noise/pixellation)
- ISO 1600-3200 – Indoors and/or night time, especially where you are not using a tripod
- ISO 800-1600 – Use indoors where flash not an option or where quite dark
- ISO 400-800 – Use indoors, especially if using flash
- ISO 200-400 – Use outdoors in the shade/indoors if well lit
- ISO 100-200 – Use outdoors in sunlight (best quality photos with most detail)
As digital cameras continue to improve, some of the drawbacks of using a high ISO setting will lessen. The best thing to do with a new camera is to test its ISO limitations by taking a series of shots in a low light location at different ISO settings and seeing which work best.
Other factors affecting ISO setting choice
- Where you’re trying to photograph fast moving action in a clear ‘still’ shot, a higher ISO setting will get a better result in conjunction with a fast shutter speed
- Using a tripod will allow for a slower shutter speed and so a lower ISO setting, as it is a more stable platform than holding the camera. If what you’re photographing is moving, you’ll still need the higher ISO setting
- Where is the image going to appear? If it’s destined to appear for example only on social media, you probably don’t need to worry about very fine detail and so a higher ISO setting is OK
- Using a higher ISO setting can produce some interesting effects in photos that you might like! It can have the effect of giving a photo a vintage look. It’s worth experimenting with this
- Remember that even if the image looks great on the camera, it may not look as good on a computer screen or in print if you’ve got the wrong ISO setting
Can’t you just ‘fix’ images in photo editing software?
Well the simple answer is ‘Maybe, sometimes you can’, but it’s always a good idea to take the best shot you can with your camera first, so that you have more control over the final image, even if you do end up using noise reduction in the post-production process afterwards. Some cameras come with built in noise reduction options, however generally these are not as good as noise reduction functions in photo editing software, so the best option is often to switch off noise reduction on the camera and concentrate on choosing the right ISO setting.
Always remember – the closer you are to getting it right with the camera the better the photo will be. Software correction is never as good as a correct exposure.
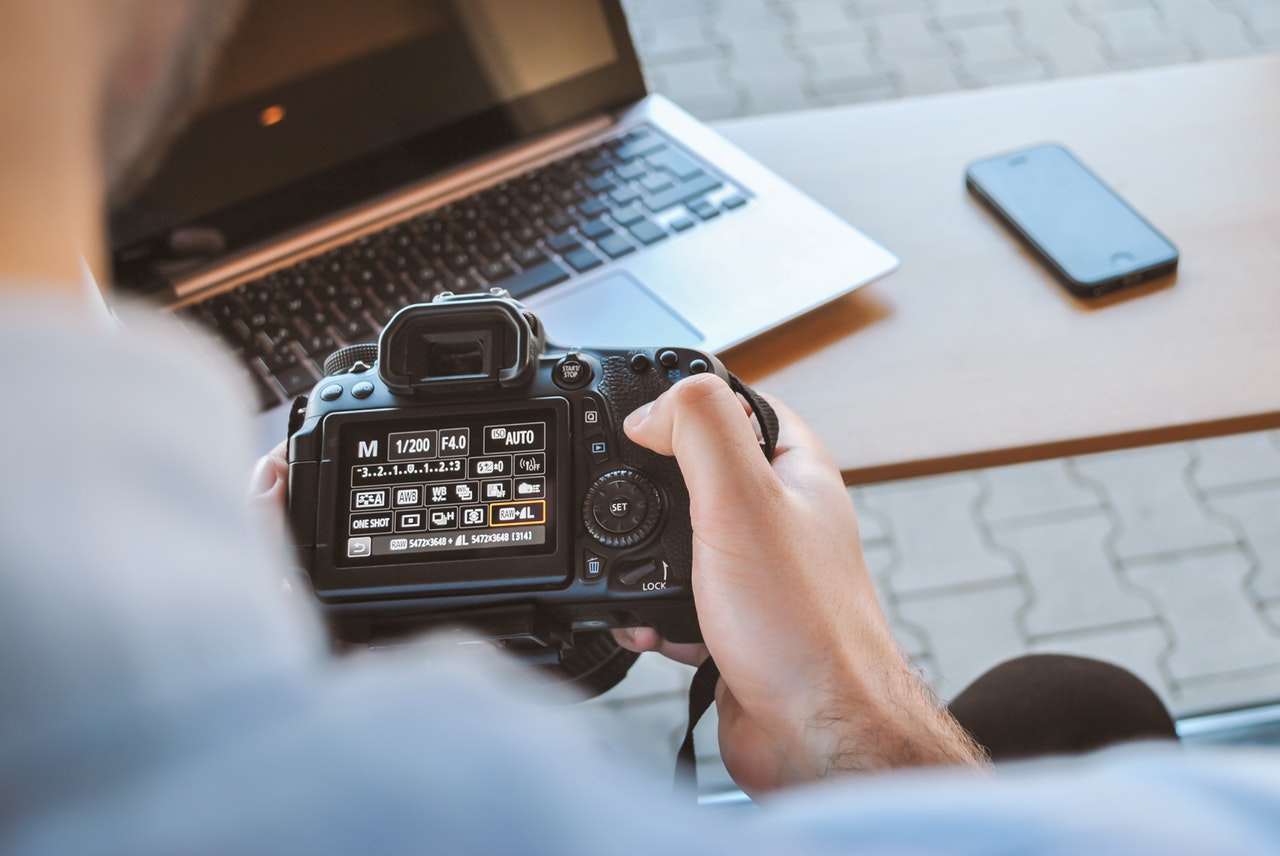
The key to getting the best quality photo is to make adjustments to the three main variables – the aperture, ISO and shutter speed settings – until you get the effect you’re looking for. This can be done in five steps…
- Decide what depth of field you want and set your aperture (f stop setting) as needed
- Set ISO at 100
- Choose a shutter speed giving the right exposure
- Take a test photo and – if the resulting image is not sharp – gradually increase ISO and shutter speed until all blur (movement) is eliminated. (1/60 shutter speed is the lowest I would use and an OK place to start if the subject is not moving)
- Adjust to a wider aperture if ISO is too high (this may be at the expense of some of the depth of field)
Even though many amateur and professional photographers regretted the passing of the age of the film camera and didn’t (and many still don’t) think that digital cameras were as good, there is one benefit of having a digital camera, at least when it comes to ISO settings – you’re not stuck with the ISO setting of the roll of film you have in the camera.
So if you do so some work in strong light and then immediately afterwards in a low light location… you just change the ISO setting on the camera and – hey presto – you’re ready to roll!
Other Resources
Introduction to ISO in Photography
ISO Settings in Digital Photography
What is ISO?
What Is ISO and How to Use It in 4 Simple Steps
Understanding ISO Sensitivity

